The form feature allows you to do plenty of things like giving your clients the opportunity to ask you questions, to order products, send a photo or join an event… To sum up, this feature will adapt to your needs.
#
To create a form click on  in the “Add pages” part. This window will appear:
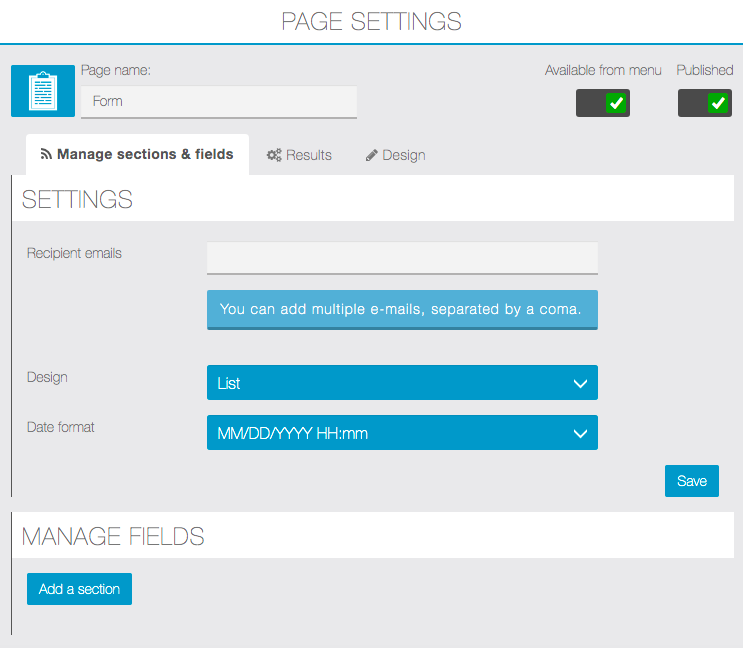
In Recipient emails field, you can enter multiple recipients, separate e-mails with a coma :
mail1@domain.com,mail2@domain.com,mail3@domain.com
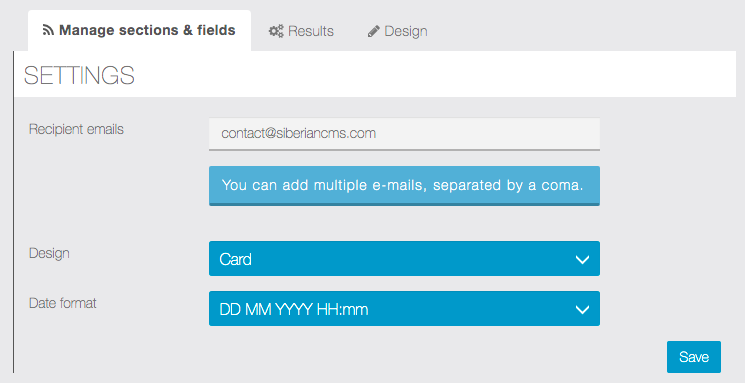
You can select the Design of the form and the Date format.
To create a first section click on ![]() . Give a name to this section. Here we will start by “Example” to show you what is possible to do with this feature:
. Give a name to this section. Here we will start by “Example” to show you what is possible to do with this feature:
![]()
To add a field click on ![]() :
:
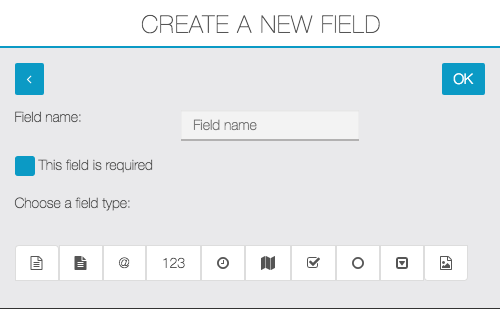
Let’s introduce the different fields:
![]() : You want the user to write a short text (ex: his name…)
: You want the user to write a short text (ex: his name…)
![]() : You want the user to write a multi-line text (ex: a description)
: You want the user to write a multi-line text (ex: a description)
![]() : You want the user to write his email address to contact him.
: You want the user to write his email address to contact him.
![]() : You want the user to write a number (ex: the number of people for a reservation)
: You want the user to write a number (ex: the number of people for a reservation)
![]() : You want the user to write the date and hour (ex: the hour he wants to pick up what he orders)
: You want the user to write the date and hour (ex: the hour he wants to pick up what he orders)
![]() : You want the user to indicate his GPS position when he sends the form.
: You want the user to indicate his GPS position when he sends the form.
![]() : You want the user to select several options
: You want the user to select several options
![]() : You want the user to only select only one option
: You want the user to only select only one option
![]() : You want the user to select the option from a drop-down list
: You want the user to select the option from a drop-down list
![]() : You want the user to upload an image
: You want the user to upload an image
Every time you enter a new field, you have the possibility to make this field mandatory. It means that the user cannot send the form if this field is empty. To do this click here ![]() .
.
You can create as many fields as you want in a section. But we recommend you to organize your form clearly to be easier for the user to fill it out.
In Results tab you can see the answers of the users.
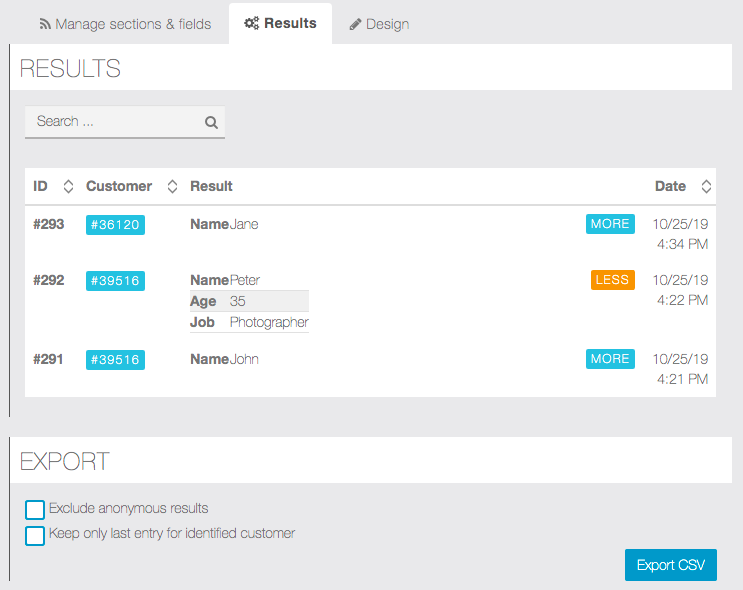
You can also export the results as .csv file and choose to exclude anonymous results or keep only last entry for identified customer.


