You can submit your app to the App Store automatically with our auto-publishing service called “iOS Auto-publish“. This method doesn’t require any technical knowledge.
Note: Unfortunately you can’t use the iOS Auto-publish if you have an Apple account that is “Individual”. Before using this service, please check that your Apple account is not “Indidivual”.
Here are the steps to publish your app with this service:
Prepare your App Store Connect account
Apple accounts requires to have the 2 factor authentification activated, but only for the owner of the account. Therefore we will add a new member to the Apple account:
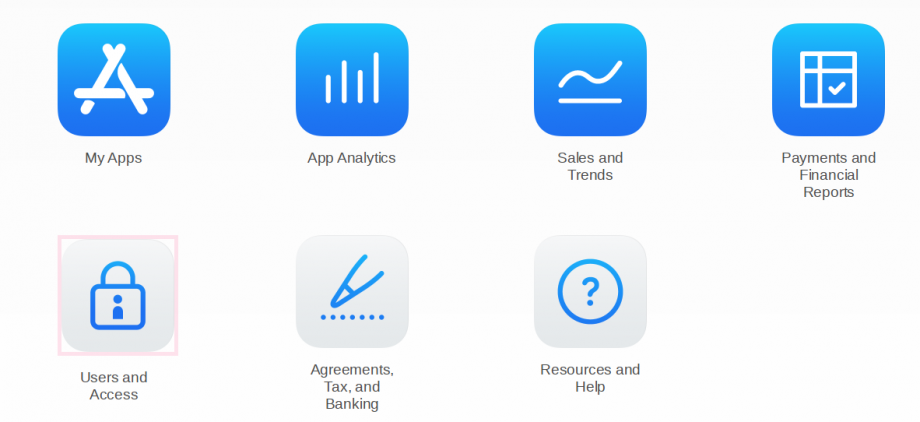
- Log in App Store Connect account, then open the “Users and Access” section:

- Click on the
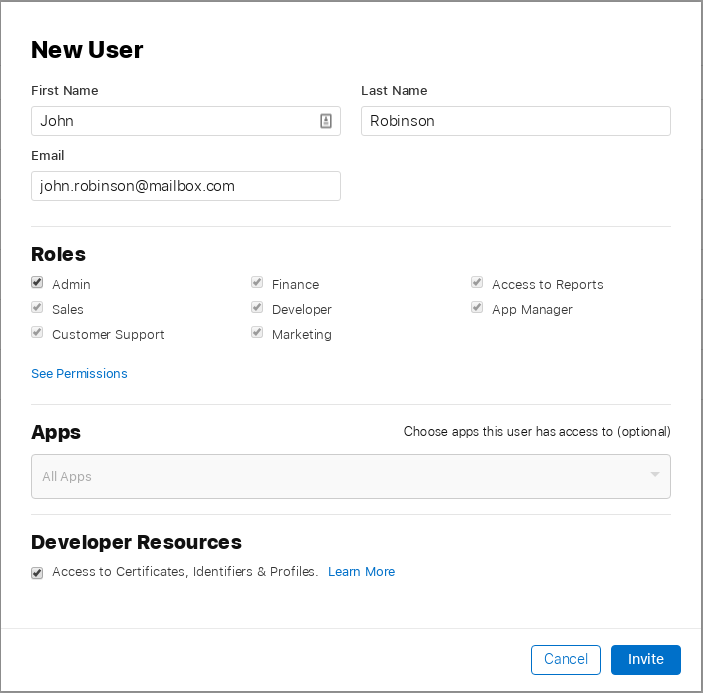
 to invite a new user by email. Pick one of your email addresses, it must not be linked to an Apple account already:
 Note: Be careful to set Admin as Role, All Apps and Access to Certificates, Identifiers & Profiles, otherwise you will have issues while publishing the app.
 - From your mailbox, accept the invitation and create your new apple account.
- Log in App Store Connect with this new account and accept any licenses. (if you have any licences to accept, it generates an issue during the publication)
- From the “Users and Access” section, you should see this:

In our example, main@siberiancms.com is the Account Holder (your main account), which is protected by the 2 Factor authentification,
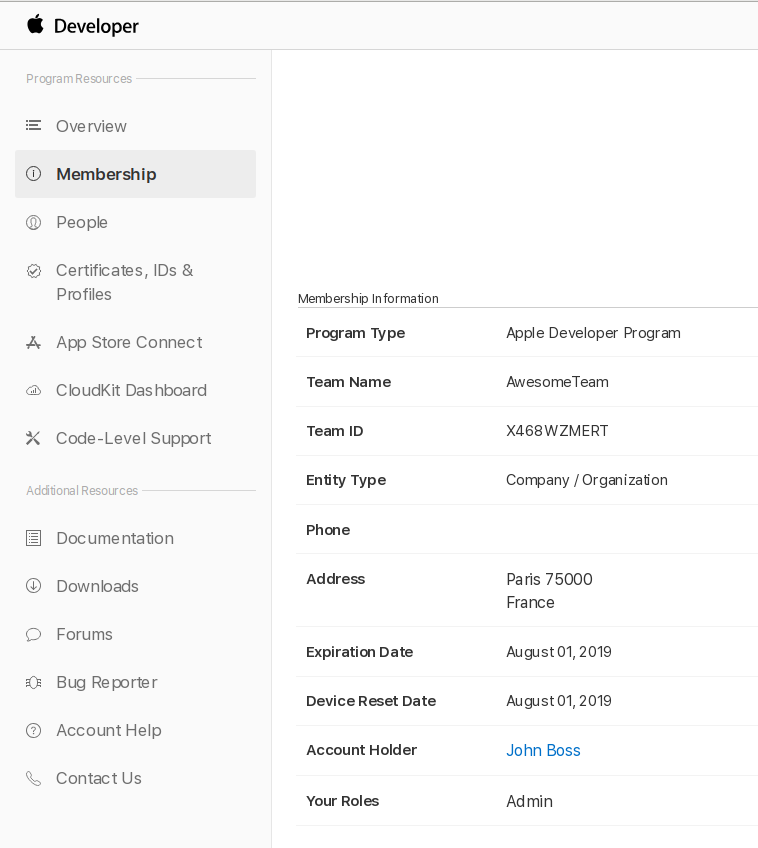
john.robinson@mailbox.com is the new account with Admin role. - Log in Apple Developer with the new account, and note your “Team Name” and your “Team ID”:

Here are the steps to publish your app with this service:
Prepare your App Store Connect account
Apple accounts requires to have the 2 factor authentification activated, but only for the owner of the account. Therefore we will add a new member to the Apple account:
- Log in App Store Connect account, then open the “Users and Access” section:

- Click on the
 to invite a new user by email. Pick one of your email addresses, it must not be linked to an Apple account already:
 Note: Be careful to set Admin as Role, All Apps and Access to Certificates, Identifiers & Profiles, otherwise you will have issues while publishing the app.
 - From your mailbox, accept the invitation and create your new apple account.
- Log in App Store Connect with this new account and accept any licenses. (if you have any licences to accept, it generates an issue during the publication)
- From the “Users and Access” section, you should see this:

In our example, main@siberiancms.com is the Account Holder (your main account), which is protected by the 2 Factor authentification,
john.robinson@mailbox.com is the new account with Admin role. - Log in Apple Developer with the new account, and note your “Team Name” and your “Team ID”:

- Select the concerned application in your backoffice Manage > Applications by clicking the button on the right of the list.
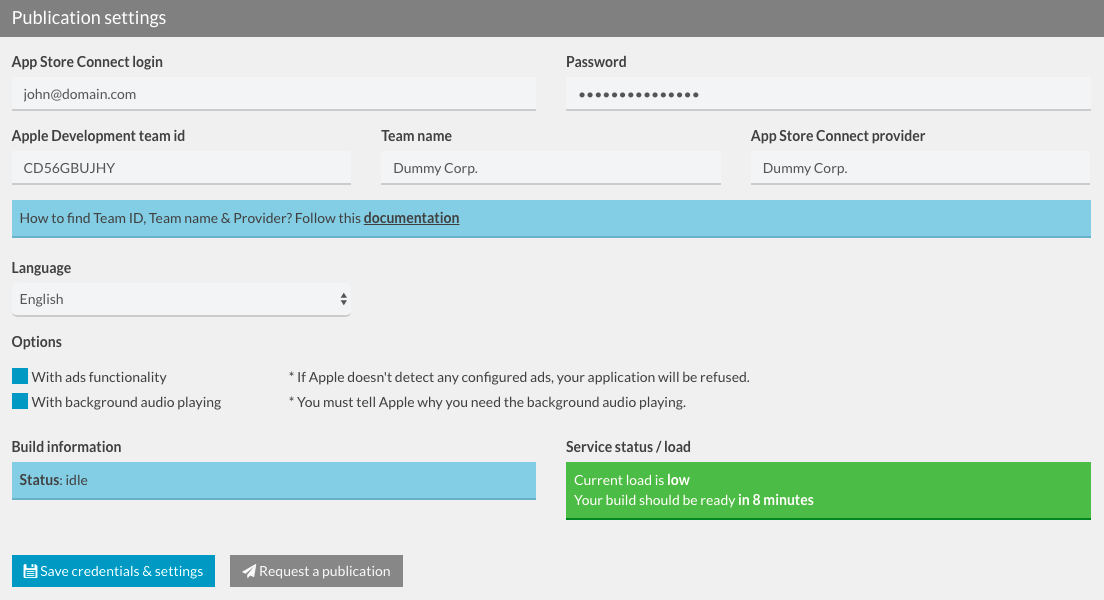
- In the section called “Generate and publish iOS Application” > Publication settings, enter your App Store Connect login and password then enter the Apple Development Team ID, Team name and App Store Connect provider.

- Select the concerned language and check the appropriate options if needed.
- Click on Save credentials & settings then click on Request a publication.
- Your app enters the queue and is going to be compiled and uploaded into App Store Connect by our build servers.
- Once done, you are warned, by email and in your backoffice, that your app has been uploaded. Then, from Apple connect you just have to complete your app page with your screenshots, description, etc… Finally, click on “Submit for review”. (from step 4)
Note : When you submit your app to the App Store it will be available in 2 – 3 days (depending on Apple). The app is going to be reviewed by Apple and they will send you an email once it is accepted.


